Introduction
For an association, it is now possible to set up a welcome mail specific to the functions on each level. This mail will be sent automatically, when this function will get active for a tabler.
Many combinations are possible. E.g. a mail from the association can be sent, when a member is getting a member (function member/member on table). Or to sent a mail, when somebody is getting a vice president on area level.
This is possible with all the functions like president, I.R.O, P.R.O, C.S.O, Vice-president, etc.
To use it, first of all the association has to enable the welcome mail module from the admin menu. In the Admin menu select Settings > Preferences. There at the bottom of the page you can enable the welcome email function.
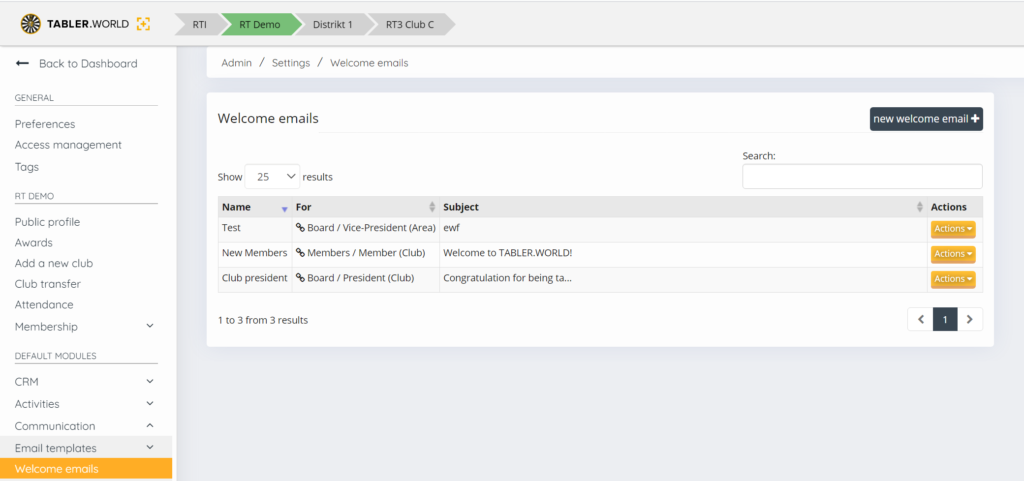
Afterwards you can compose the mails on admin > settings > Communication > welcome mails.
Create your own Welcome email
1. Create a new welcome email
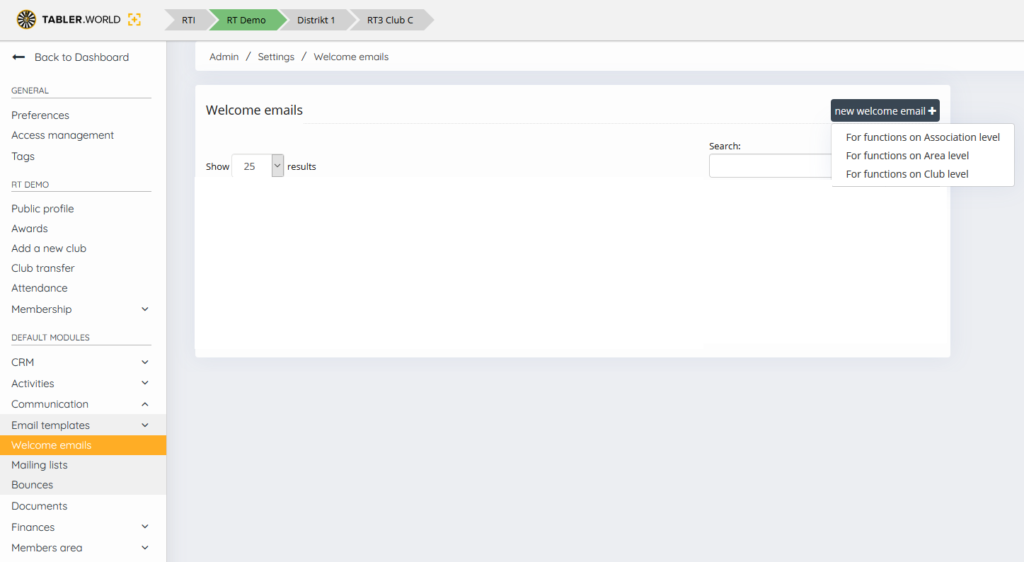
Click on the new welcome email button and select on what level you want to create a new welcome email. you can choose the following.
- For function on Association level
- For function on Area level
- For function on Club level
2. Setup the welcome email
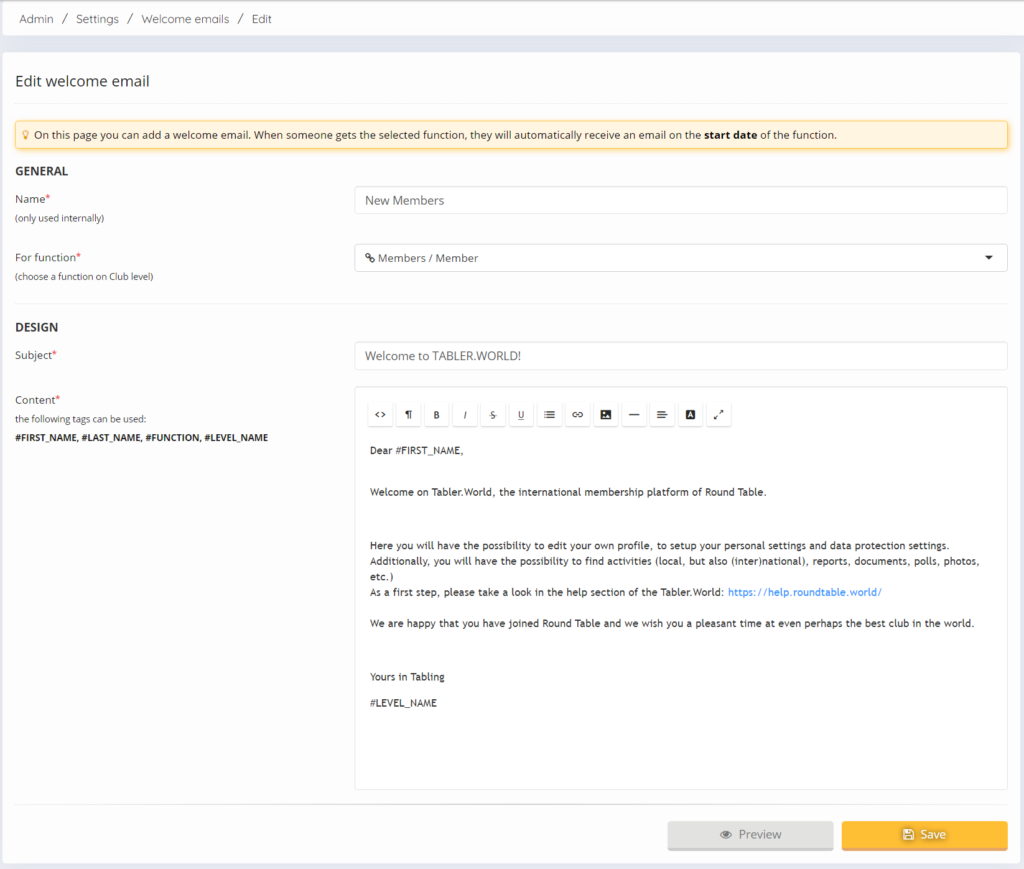
GENERAL
Fill in a Name to show in the list. this is only used internally.
Select For function, what function you want to send to an email when this is added to the members group and functions section on his profile.
DESIGN
fill in a Subject that will be used as the subject of the email that is going to be send and with what titel the email will showed in the mail box of recipient.
in the Content you can insert the email content that will be send with the generated document. in this email you can use different tags to show from witch Tabler the document is generated.
You can only use the following tags:
- #first_Name
- #last_name
- #function
- #level_Name
This post is also available in:  Deutsch (German)
 Nederlands (Dutch)
 Français (French)
 Svenska (Swedish)
