Introduction
This integration allows you to export contacts to a MailChimp list. With MailChimp, you can easily send out digital newsletters or automate marketing campaigns.
Tabler.World will automatically synchronize the contacts in the selected groups, functions and segments every night, so you always have the most recent data in MailChimp.
Preparation
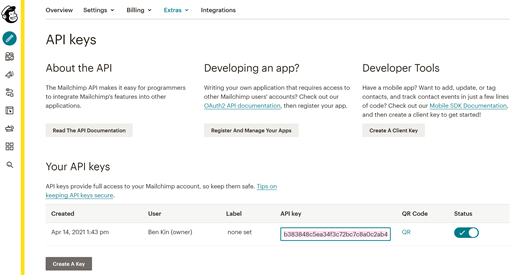
1.You need an API key from your MailChimp account. Read here how to create an API key. go to: https://mailchimp.com/help/about-api-keys/
- You will need an empty Audience, create it on MailChimp go to: https://mailchimp.com/help/create-audience/ (depending on which package you have with MailChimp, you can add 1 or more Audiences).
- You need to add Merge fields. when you have created a new Audience list go to Audience dashboard > Settings > Audience fields *|MERGE|* tags and add text tags and give them a name.
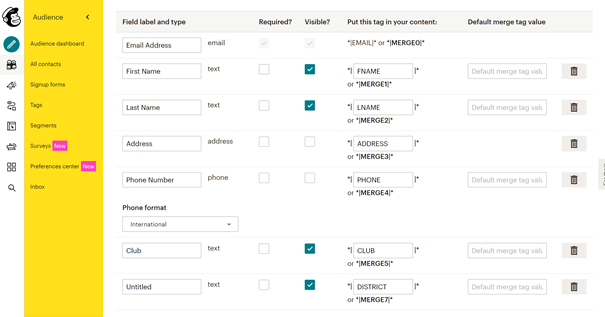
Note: all added fields can be plane text fields and after you add them, they are available in Tabler.world to select. you can also add a date field or a number field or a birthday field but you can only connect some fields from Tabler.world please check Available links for more info.
Adding Integration
To link MailChimp to your Tabler.World account, follow these steps:
- Click on the red button ‘Admin‘.
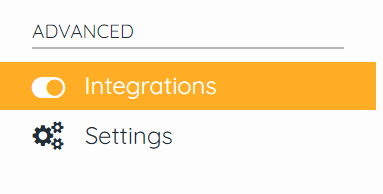
- Click on ‘Integrations‘ in the menu bar.
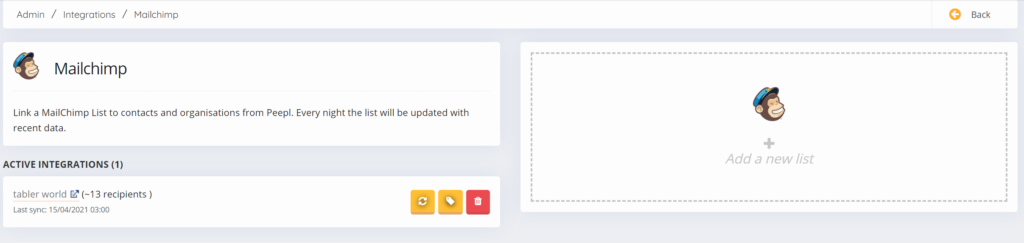
3. Click on ‘MailChimp‘
4. Click on ‘Add new list‘. You can add as many lists as you want.
5. Follow the steps. You will need your API key in this process. You need to use the API Key generated in Mailchimp.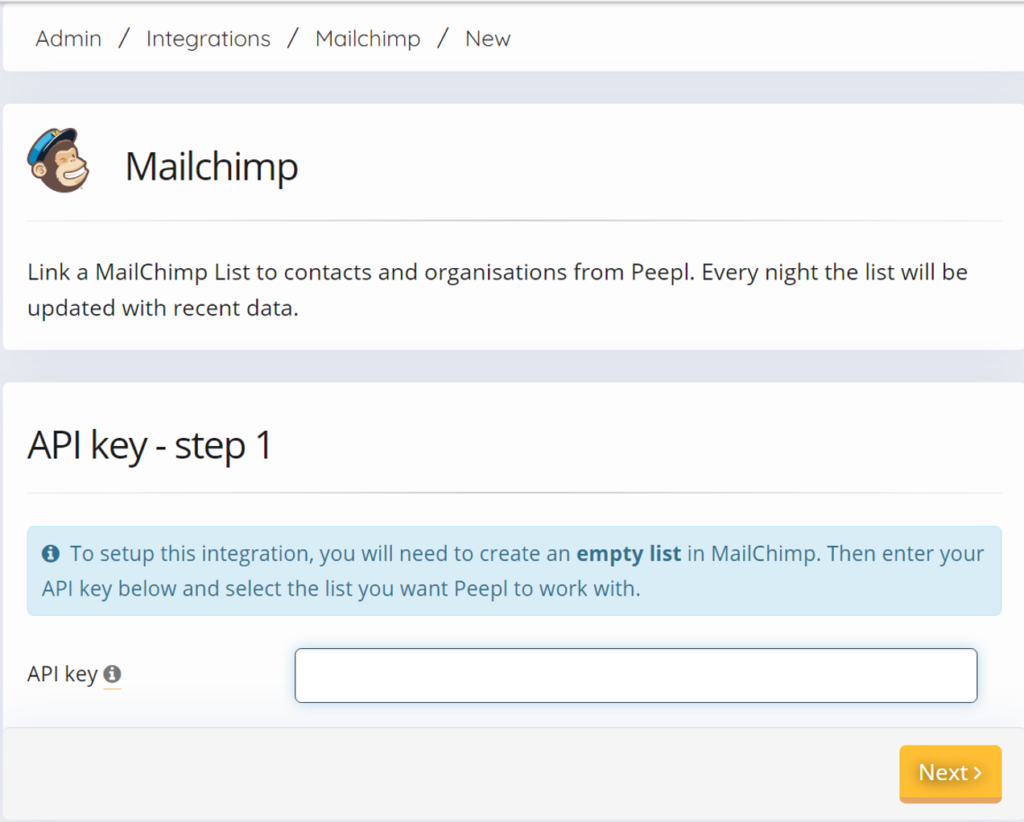
New list
When you click on the label symbol you can Merge tags

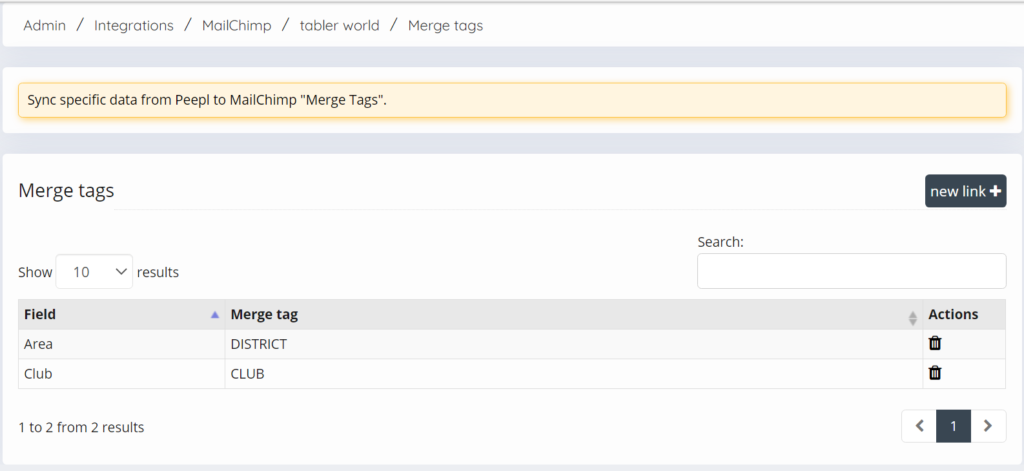
in the Merge Tags you can add an new link
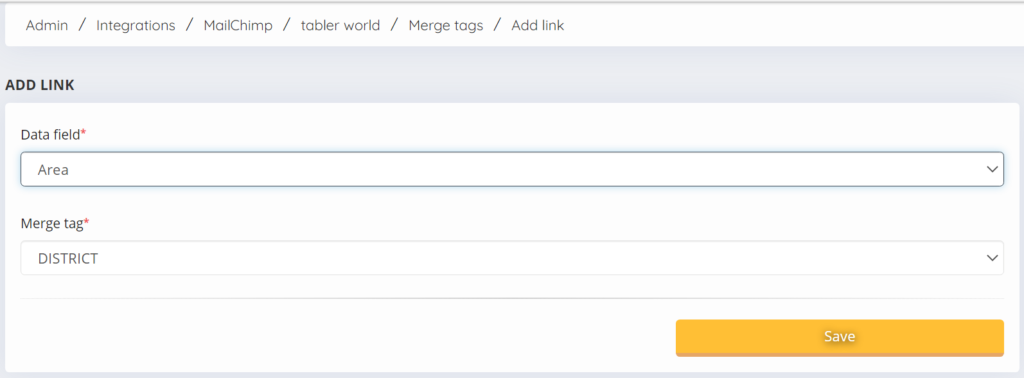
Available links
- Board function =(Mailchimp: Text field)
- Member of (member from) =(Mailchimp: Text field or Date field DD/MM/YYYY)
- Member Until =(Mailchimp: Text field or Date field DD/MM/YYYY)
- Club =(Mailchimp: Text field)
- Club Number =(Mailchimp: Text field or Number field)
- Birthday (date) =(Mailchimp: Text field or Date field DD/MM/YYYY)
- Birthday (day & month) =(Mailchimp: Text field or Birthday field DD/MM)
- Area =(Mailchimp: Text field)
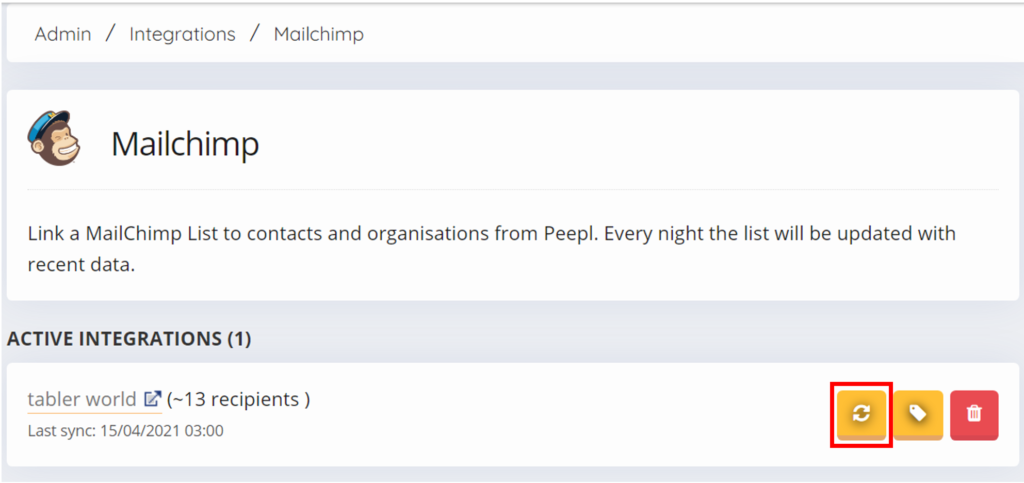
Manual Synchronisation
it is possible to do a manual sync of the Mailchimp integration. click on the sync button. on the left side there is a field to see when the Last sync was done. normally this is done automatically every night.
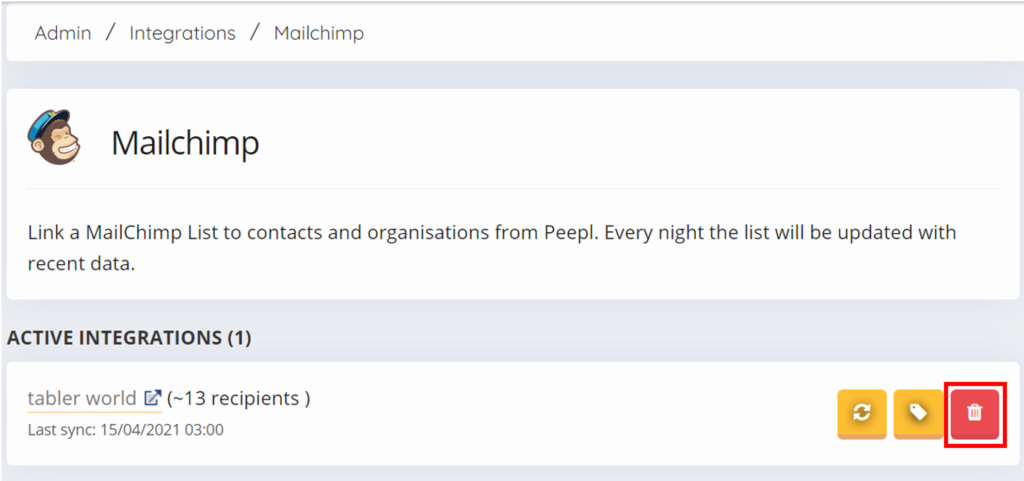
Deleting an integration
To delete the integration, click on the delete icon on the right.
Note: this will not automatically remove the Audience in Mailchimp!
This post is also available in:  Deutsch (German)
 Nederlands (Dutch)
 Français (French)
 Svenska (Swedish)
