- Click on the « Admin » button in the upper right corner to enter the Admin menu.
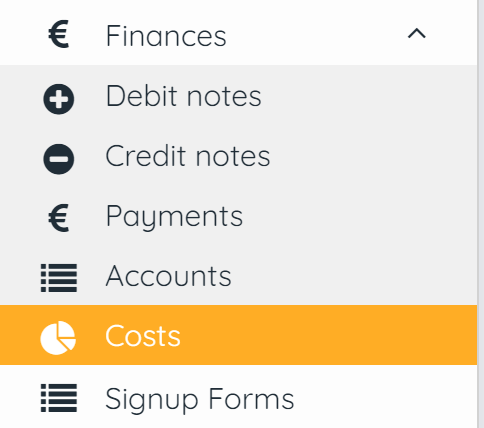
- Click on « Finance » and then on « Costs »
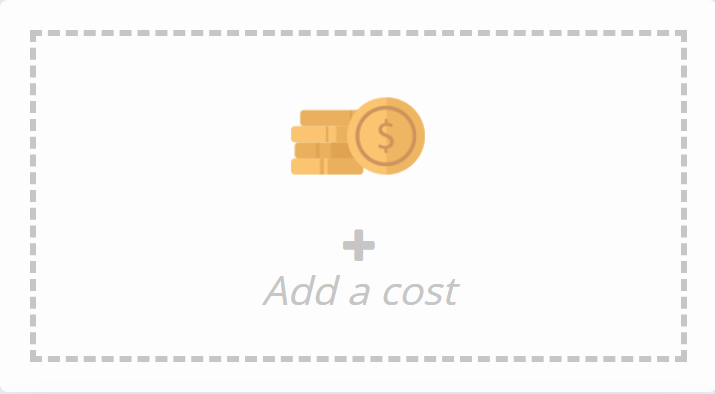
- On the right side, click on « Add a cost item »
- Insert the needed data
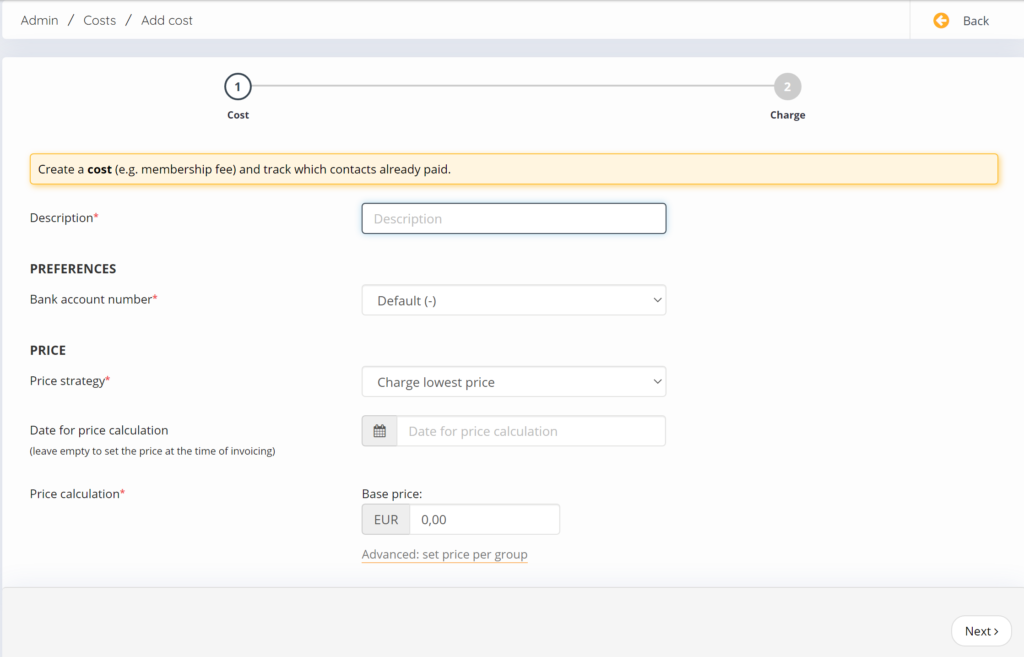
If the button « bill directly » is activated, all selected Tablers will receive an e-mail with the billing after creating the cost item.
- By clicking on « Next » you can then select the groups or individual Tablers that should take over the costs. Also, if you have selected a group, you can exclude individual group members from the cost item.
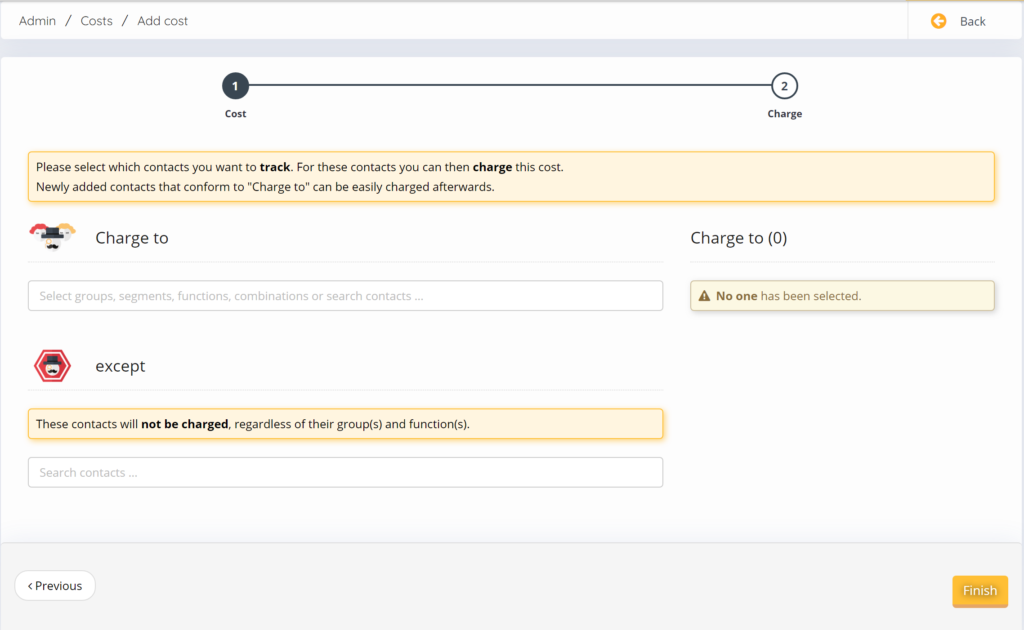
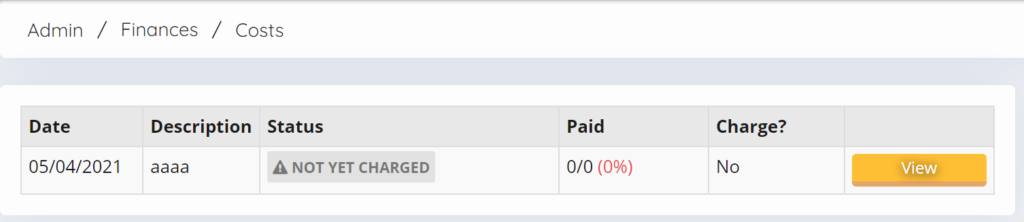
- By clicking on « Finish » the cost item is created. All cost items are then shown under « Finance » – « Costs ».
This post is also available in:  English (Anglais)
 Deutsch (Allemand)
 Nederlands (Néerlandais)
 Svenska (Suédois)
