Introduction
Each association, area and even clubs have all kinds of forms in different formats that they use to collect applications from it’s members. Recruitment, Travel requests and etc … are only a few. To make all this much easier it’s possible to create your form now on the platform and therefore collect applications with relative ease. Here we will show you how.
Accessing the module
Open up your admin page and from the side menu click on Forms (under the category Optional modules). More about the admin menu can we found here.
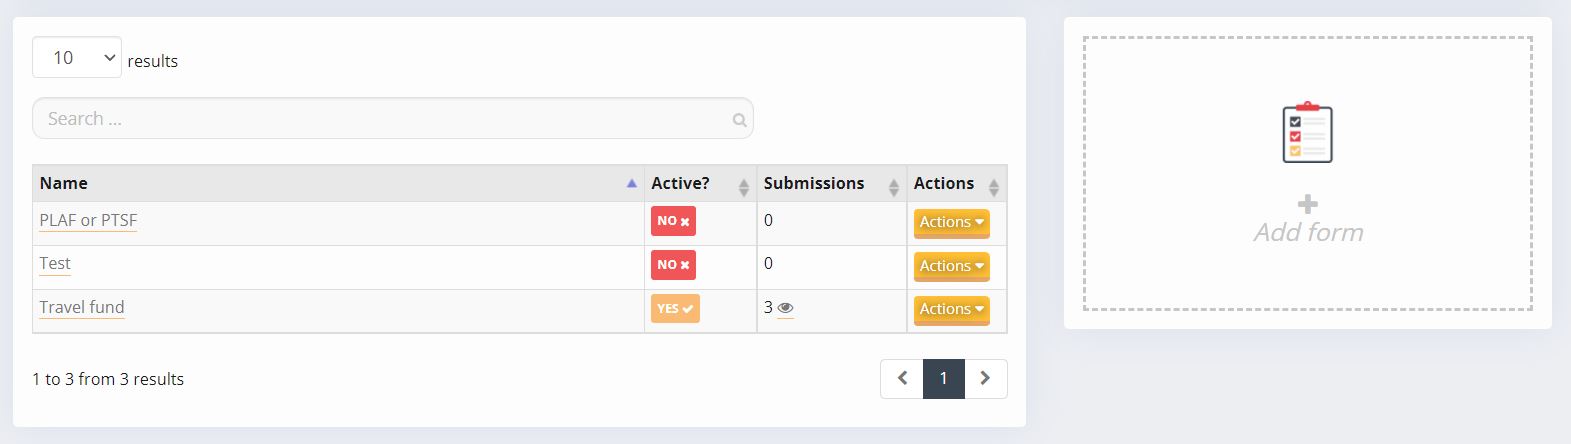
All created forms are visible on the overview page and from there you can see the submissions and status of the form right away. You also have a few actions that you can do for each form.
- Submissions. Show all submitted content of the form and also options to edit/change settings or fields in the form
- Activate/Deactivate. Easy open or close the form for new content
- Copy. Duplicate the selected form into a new form
- Delete. Well, if you need to delete the form entirely and all it’s submissions. Can’t be undone
Create a new form
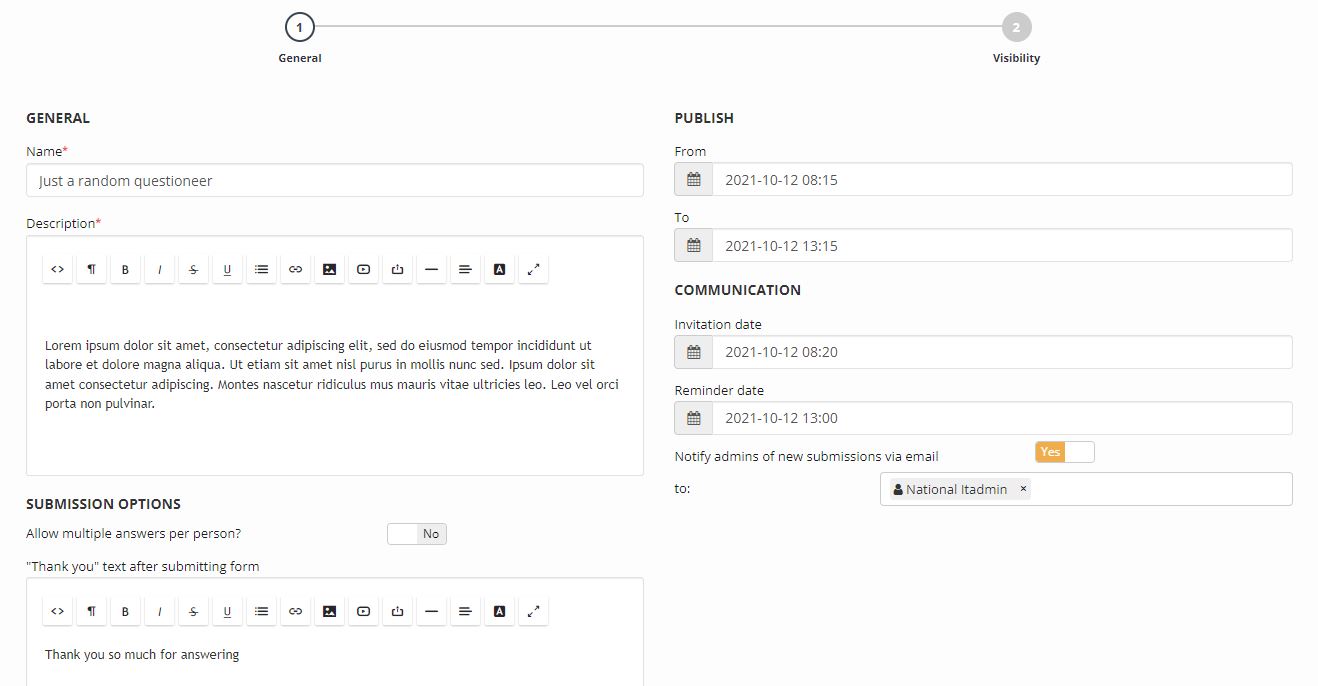
Click the + Add form button on the right side of the overview page and start with the basic. It’s mandatory to provide a name, description and the Publish From date but the other fields are optional. The Publish From date is the datetime the form is open for submit. A few things to consider:
- If no Publish To datetime is set then the form will never expire unless it’s deactivated
- If the communication datetime fields are left empty no invites will be send out or reminders
- You can set certain submission options, for example allow the same user to fill out the form more then once. Also customize a thank you message
- If you need to inform a certain user or users about a submission you can set it by toggling the « Notify admins of new submissions via email
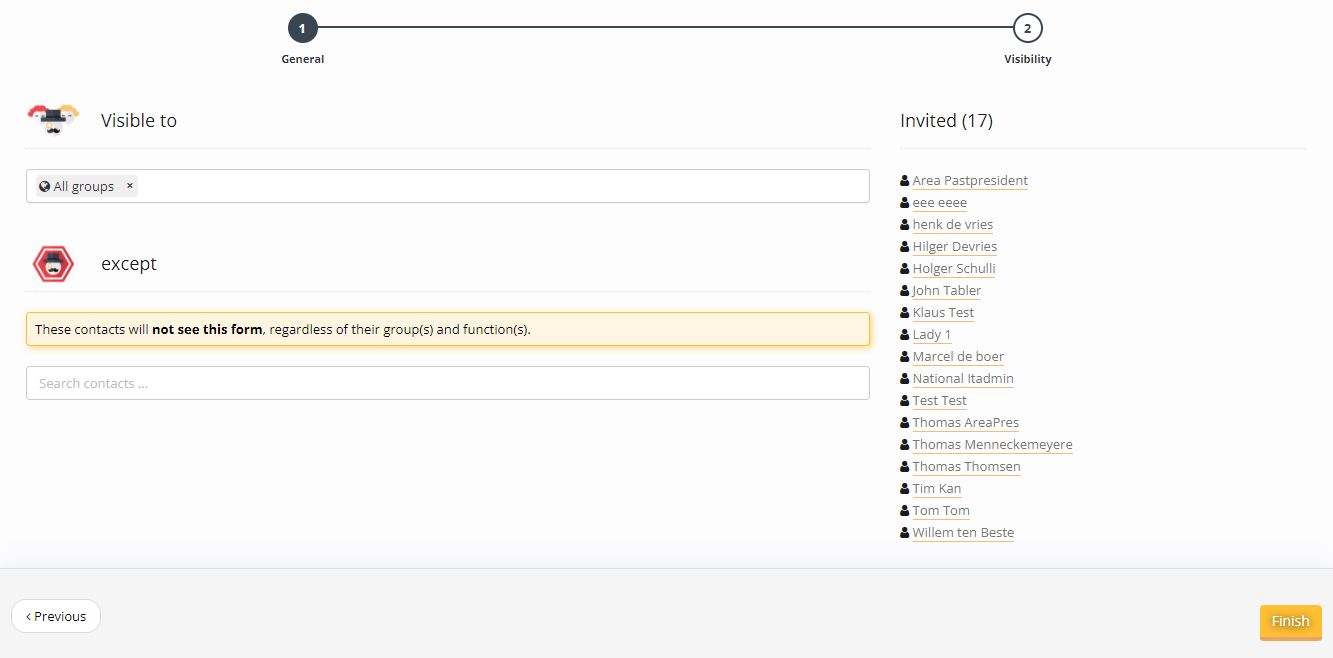
Once the details are set you can select which users/functions can see the form and exclude also certain users if needed.
If all fields are filled out correctly you will now have created the form, otherwise you are brought back to the creation page and asked to correct certain errors. They are shown to you and detailed feedback on how to set them correct.
Manage a form
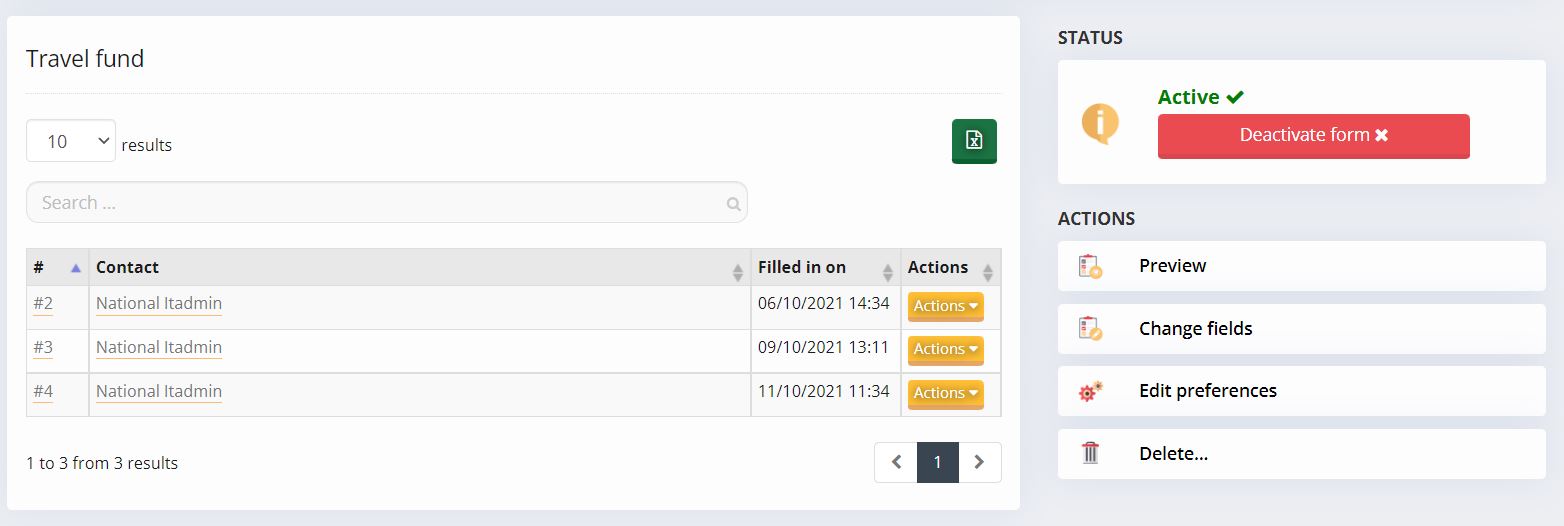
To edit the form open it from the overview page by clicking Actions > Submissions. In the main window you see the submitted content. You have certain actions for each submission, either to view or to delete the entry. Viewing can also be done by clicking on the number by each entry.
Other actions on the right side is to set the status to active or deactive (top right box). The lower options allow to preview the form itself, edit the settings/preferences of the form or delete it entirely. Change fields allows you to build up your form.
Creating the form / modifying fields
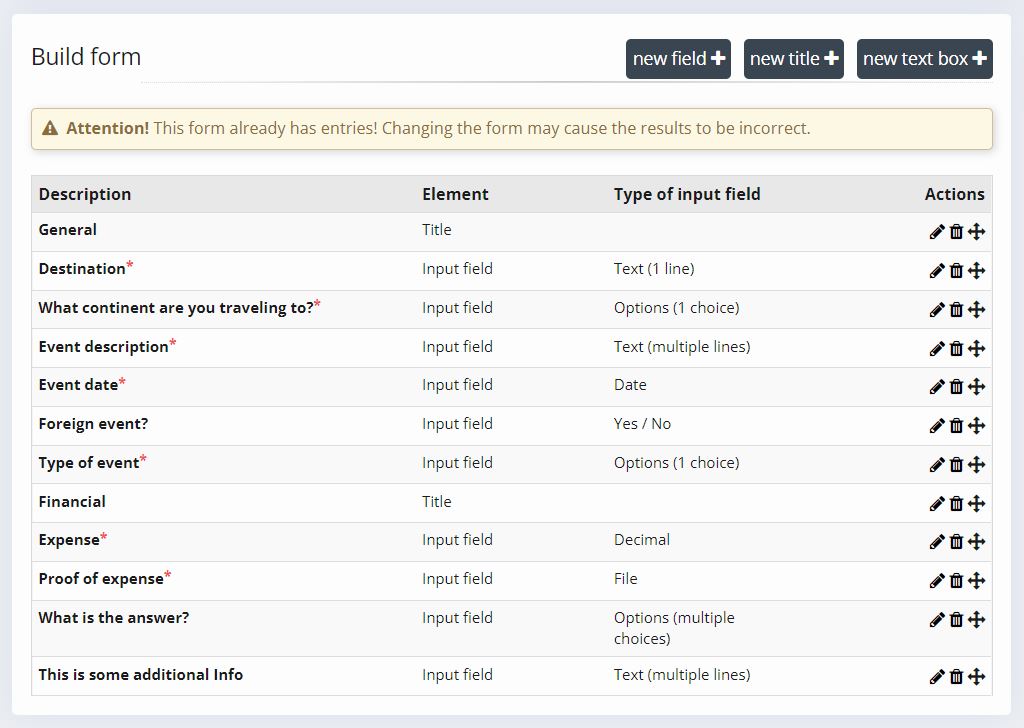
Setting up the content can take some time but it’s worth it after it’s done, because it saves a lot of time later on. Be sure to test drive the form first so there are no bugs.
The options here are pretty simple:
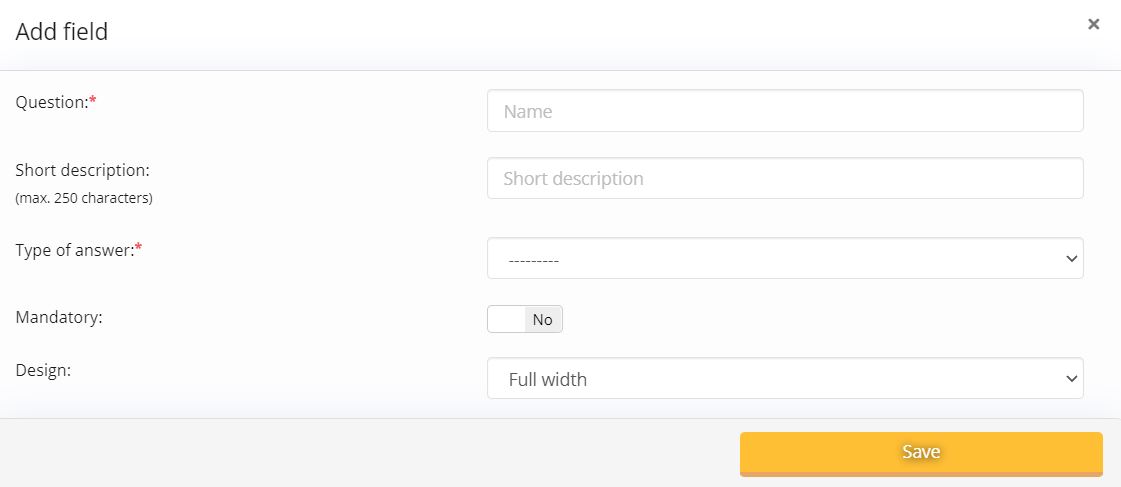
- new field. Allows you to make a input field with multiple options like text, textbox, multiple choice, Yes/No, number field, upload, etc …

- new title. Creates a header/title box. Good to use it to split up the form into multiple sections
- new text box. Creates a textbox that you can format as you wish with links, text color and size, etc… Useful to explain or to show certain information related to the form
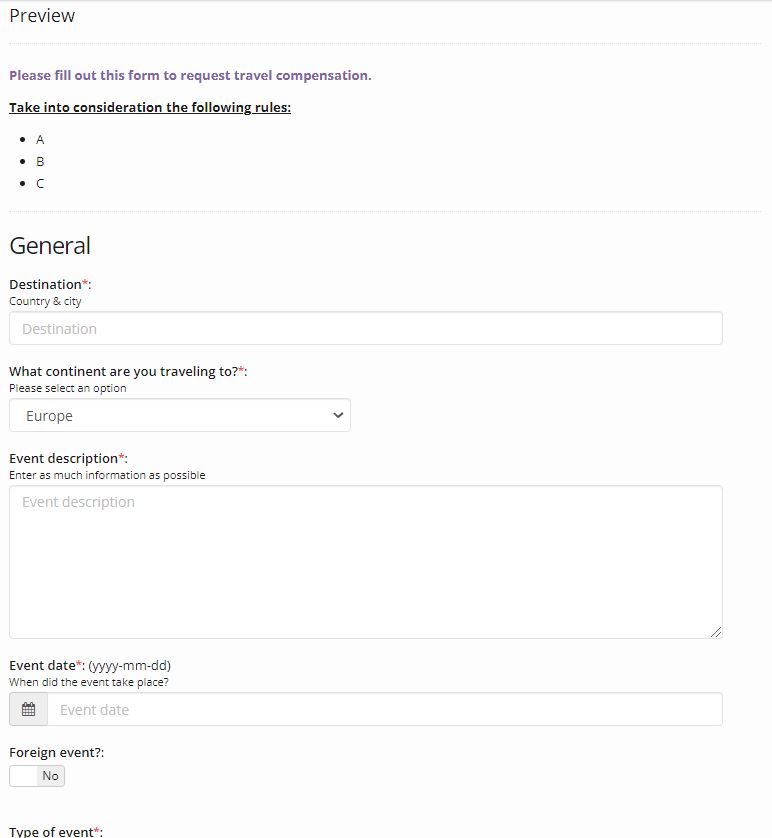
The final form could look like this
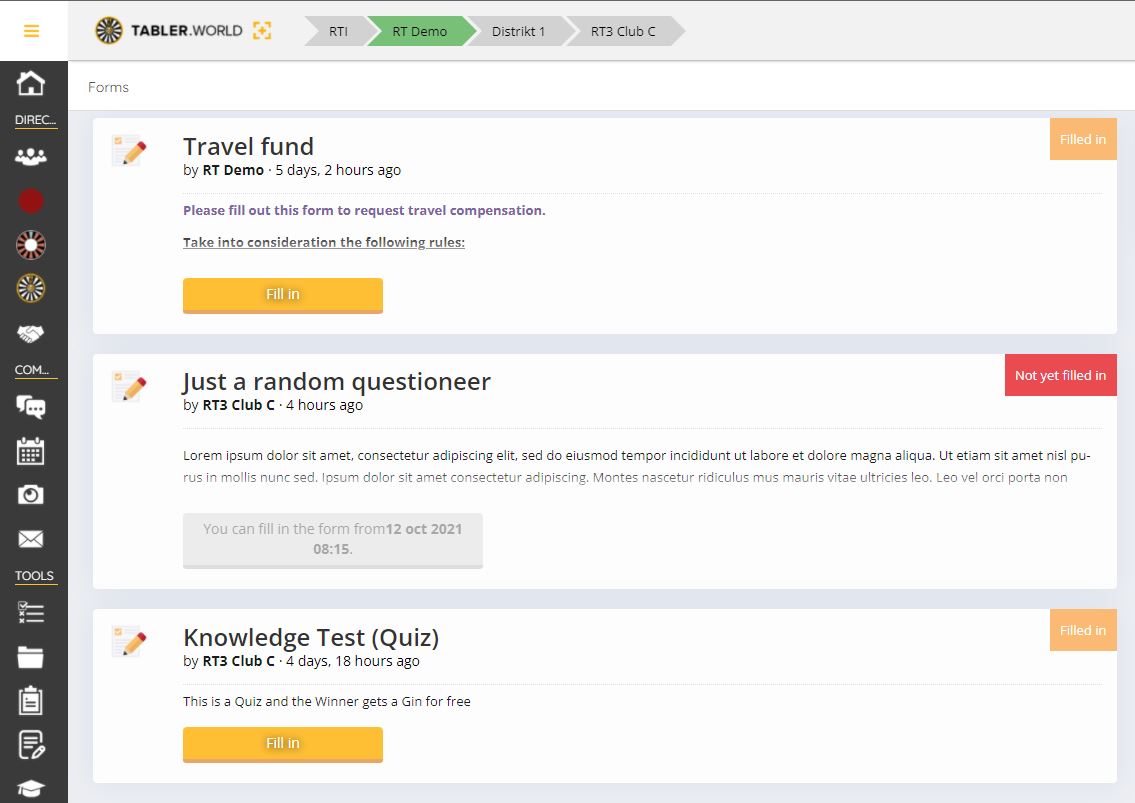
How can a user access the forms
On the main menu of the unit (association, area, club) is a new menu item called Forms. Here all the forms you have access to are shown and can be selected to be filled out.
How to Check the Answers
To Check the answers given to the form go in to the admin area and then find on the left side the Forms
![]()
then choose the form and click on Action, Submissions. You see the following page.
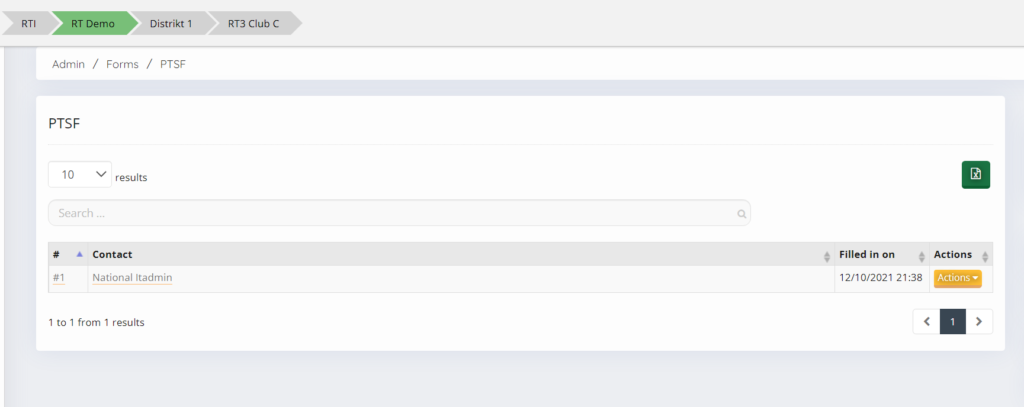
next to the contact that has filled in the form you can press Action, View to view the answers from this person. of you can click on the Excel logo to generate an excel file with all the answers.![]()
![]()
Example PTSF
A Frequent Ask Question about Forms is how to set-up the form where people can sing-up potential Tablers. There for here is the example from RTNL how they already using this for many year and a good example where this form can be used for. In English we will call is PTSF (Potential Tabler Sign-up Form). This form is an example how every Association can use this form to let there Tablers fill in Potential Tablers when they can not join there own Table because they are living to far away or any other reason.
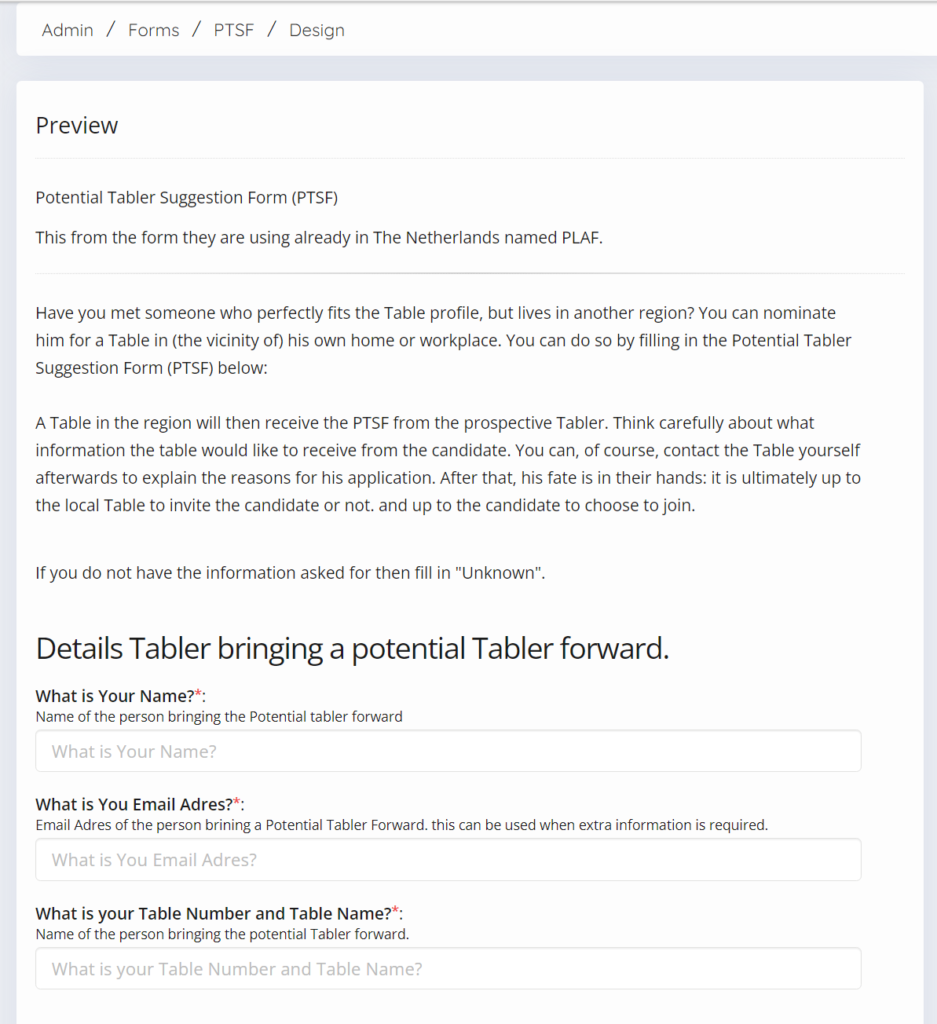
The form setup

Form Preview
![]()
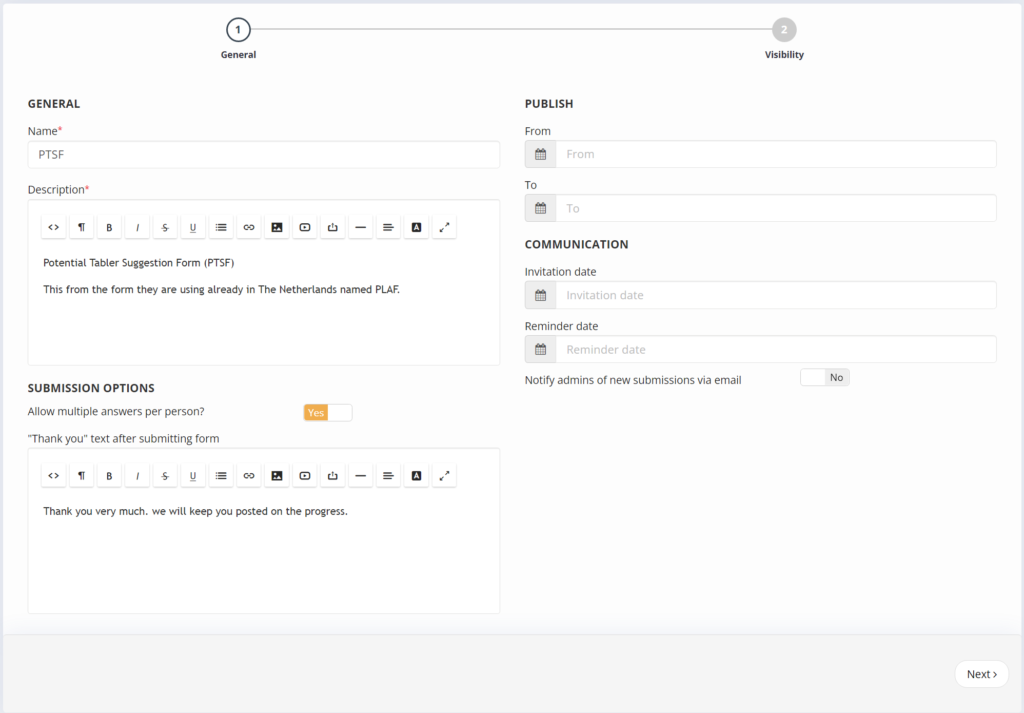
Preferences setup preview
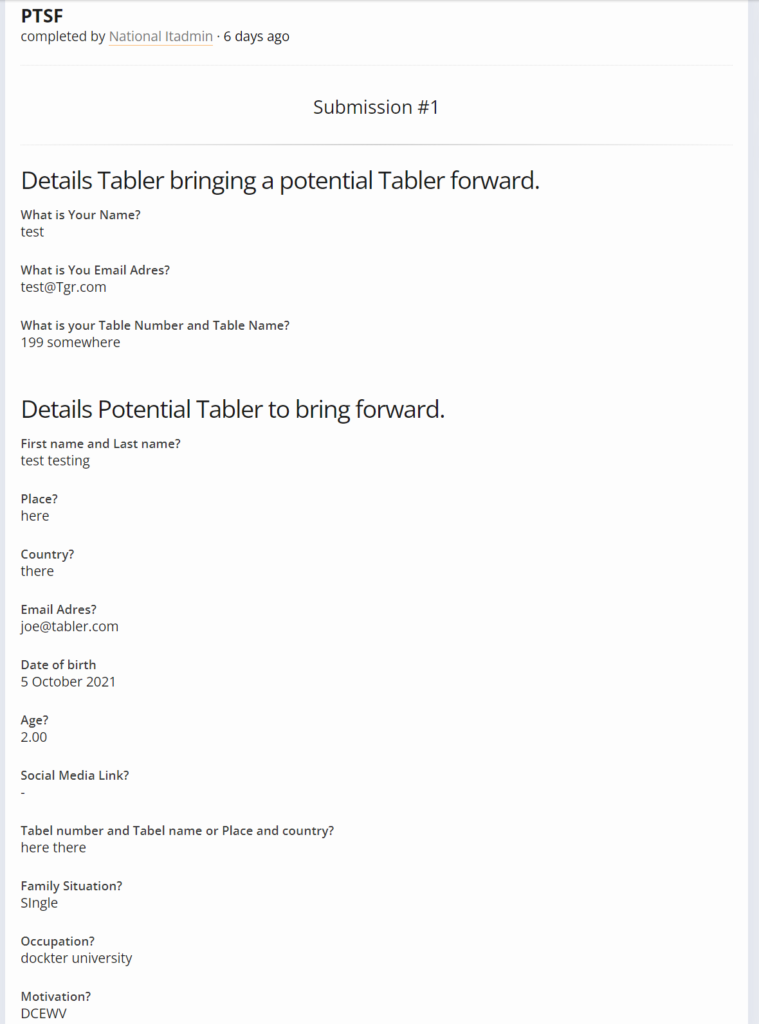
Answer Preview
Answer Exel Preview
![]()
This post is also available in:  English (Anglais)
 Deutsch (Allemand)
 Nederlands (Néerlandais)
 Svenska (Suédois)
