Introduction
On the platform you can save documents for your users to see and download. You can customize almost any aspect from who can see it to who can upload and manage. Here we will explain for administrators and managers how to create folders and upload it from the admin menu but also from the main page.
Documents is related to the individual level so in order to see the documents of your association you need to be at the association level, area documents in your table’s area and club documents under your club level. So if you don’t see a document or folder that you know you should see please check the active top navigation level (on image seen as RTI > RT Demo > Distrikt 1 > RT3 Club C) where the RT Demo is the active level (association).
From you admin menu navigate to the Documents page.
Adding Root folders
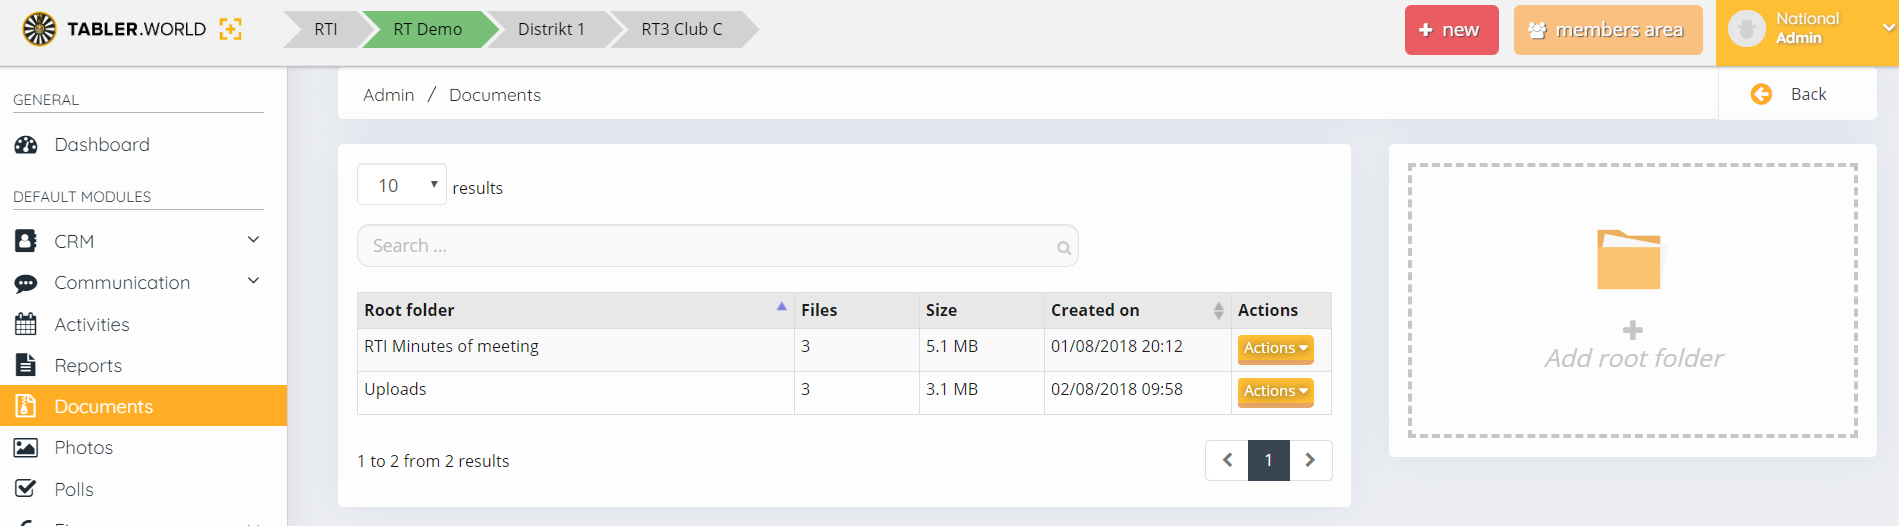
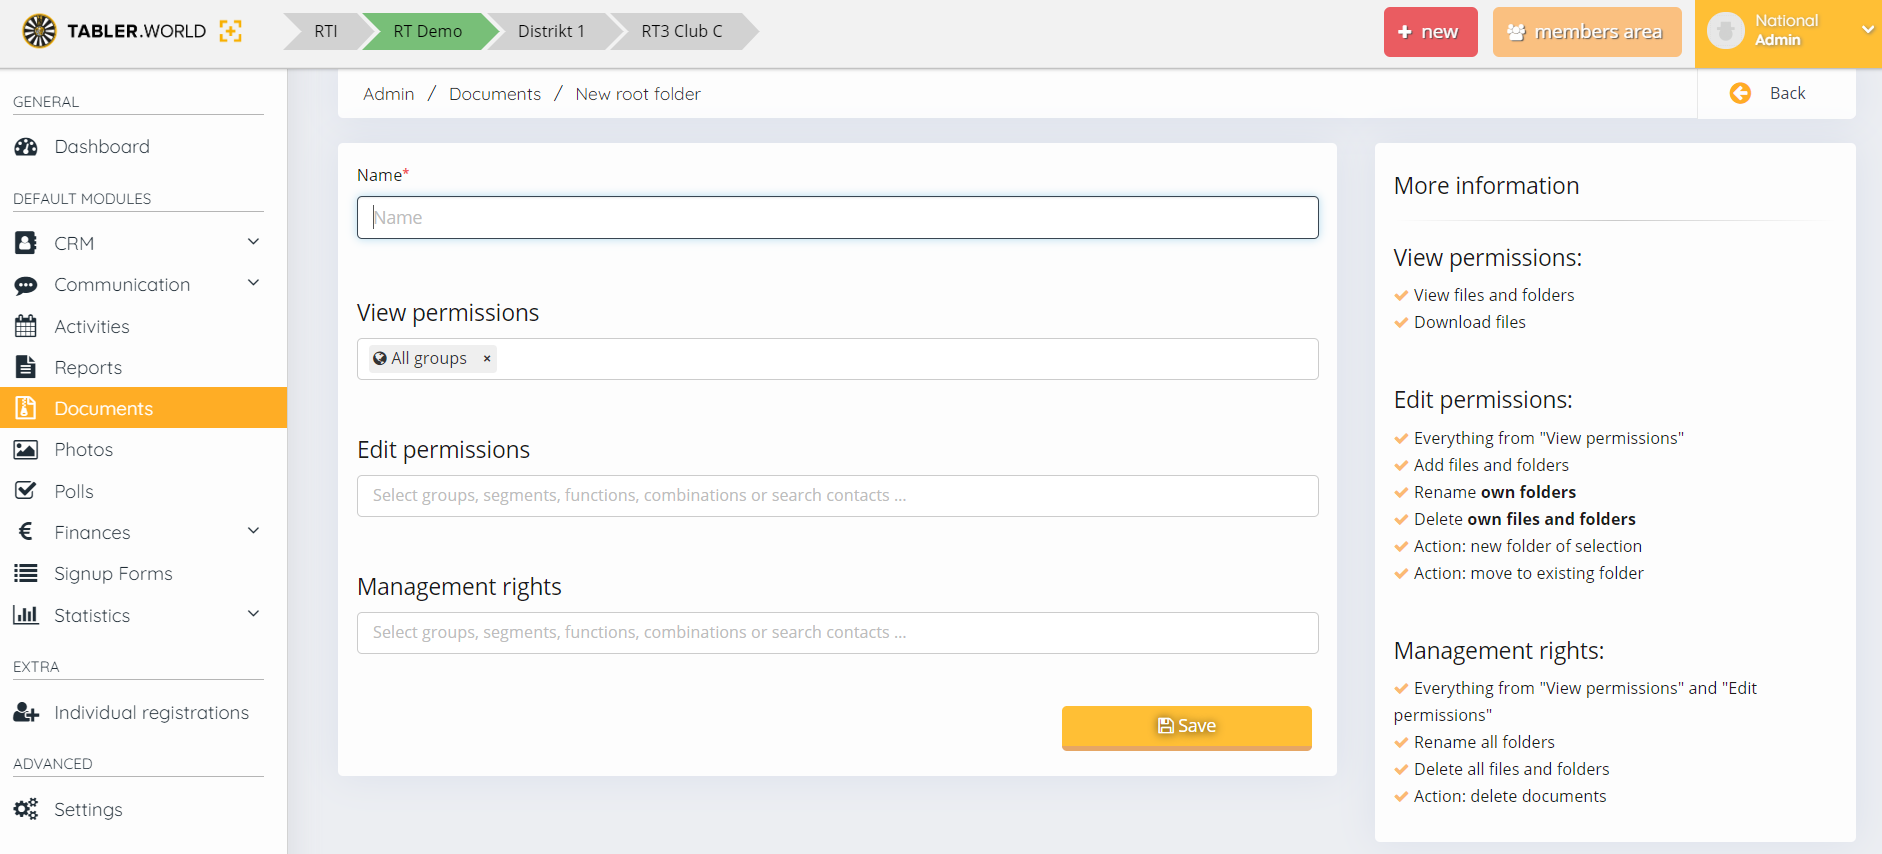
The first step is to create your root folders and set the permissions of the folder. From the overview site press the + Add root folder which shows the “New root folder” page. Simply fill in the Name of the folder (be as detailed as you need) and fill in the permission/management rights.
On the right side you will see a short description what the permission/rights fields do for the selected users. The great thing about the permissions is that you can almost fully customize your documents and allow you to grant more then view rights to users without having to give special permissions to the full administration menu. The categories are:
- View permissions. Who is able to see the folder. All groups means any user in the entity can view and download this folder but you can choose any function, contact/user or groups
- For example if you want a folder that only the national board at any time should see select here the group Board. This means the board will be able to see and download the documents
- Edit permissions. Which users can make changes to his own files. Please note that if you include a name that is not included in the view permissions it will automatically be able to view and download files
- Management rights. The users here have full rights to administer anything of the root folder, not only his own folders or right. Again if there is a name here that is not in the first two categories it will automatically grants the user rights in other two categories
In the root folder list there is a Actions button. The options there is:
- View the contents of the folder, opening the possibility to upload
- Edit name of the folder. Can also delete the folder here
- Access management to change the rights as mentioned before
Adding individual folders & uploading files
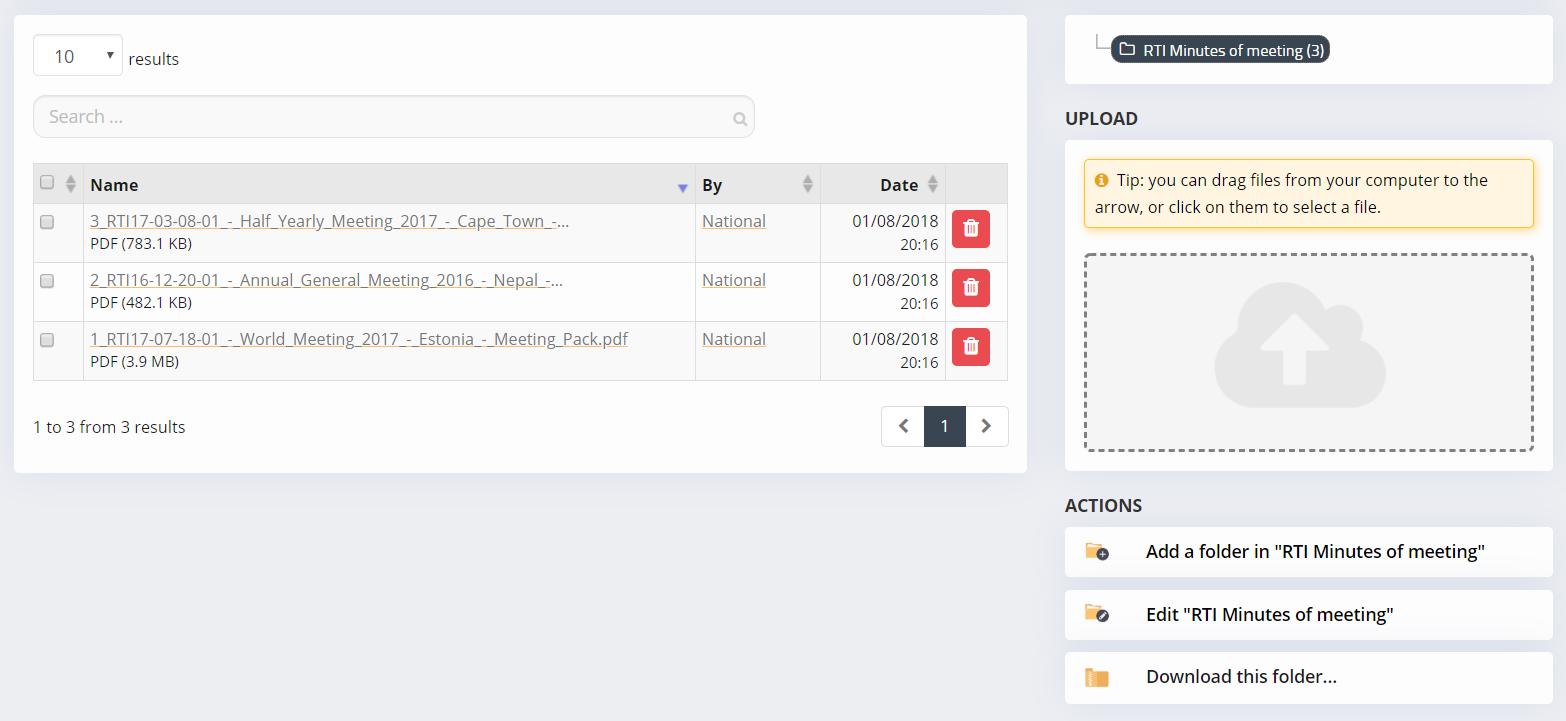
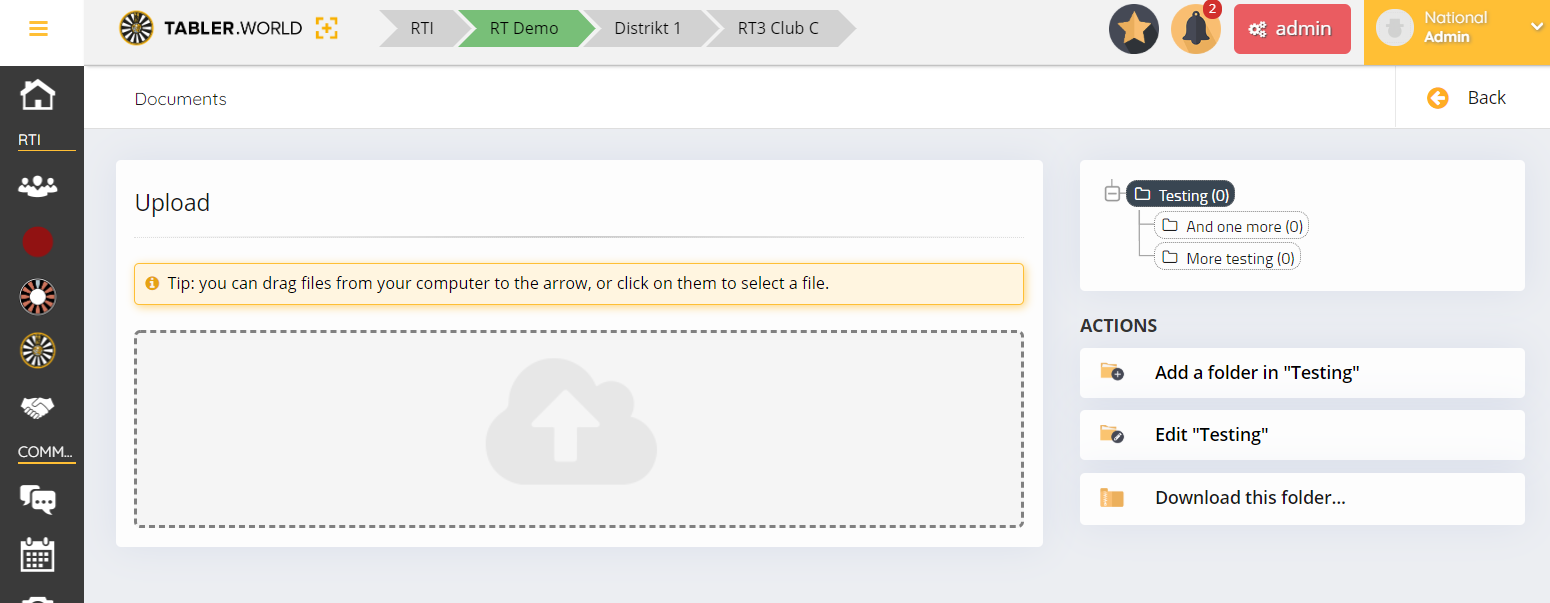
If you are in the root folder you have a few Actions from the list. On right top side you see a navigation tree of the sub-folders under the root folder (See “RTI Minutes of meeting (3)” on the image above). Sub-folders can be other sub-folders and so on if you like. We recommend to keep it simple though:
- Add a new folder. Create a new folder to segregate better the contents. The option presented is a field for name. You can’t set permissions here
- Edit the folder. Allows you to rename or delete the folder
- Download this folder. Download the content of the folder you are viewing
Trash can by each file let’s you delete the file from the system.
Upload area allows you to drag and drop any amount of files or if you click then browse from your computer. Please note that you can not rename the file once it’s been uploaded so you need to have the right name before uploading.
Editing from the main page without admin rights
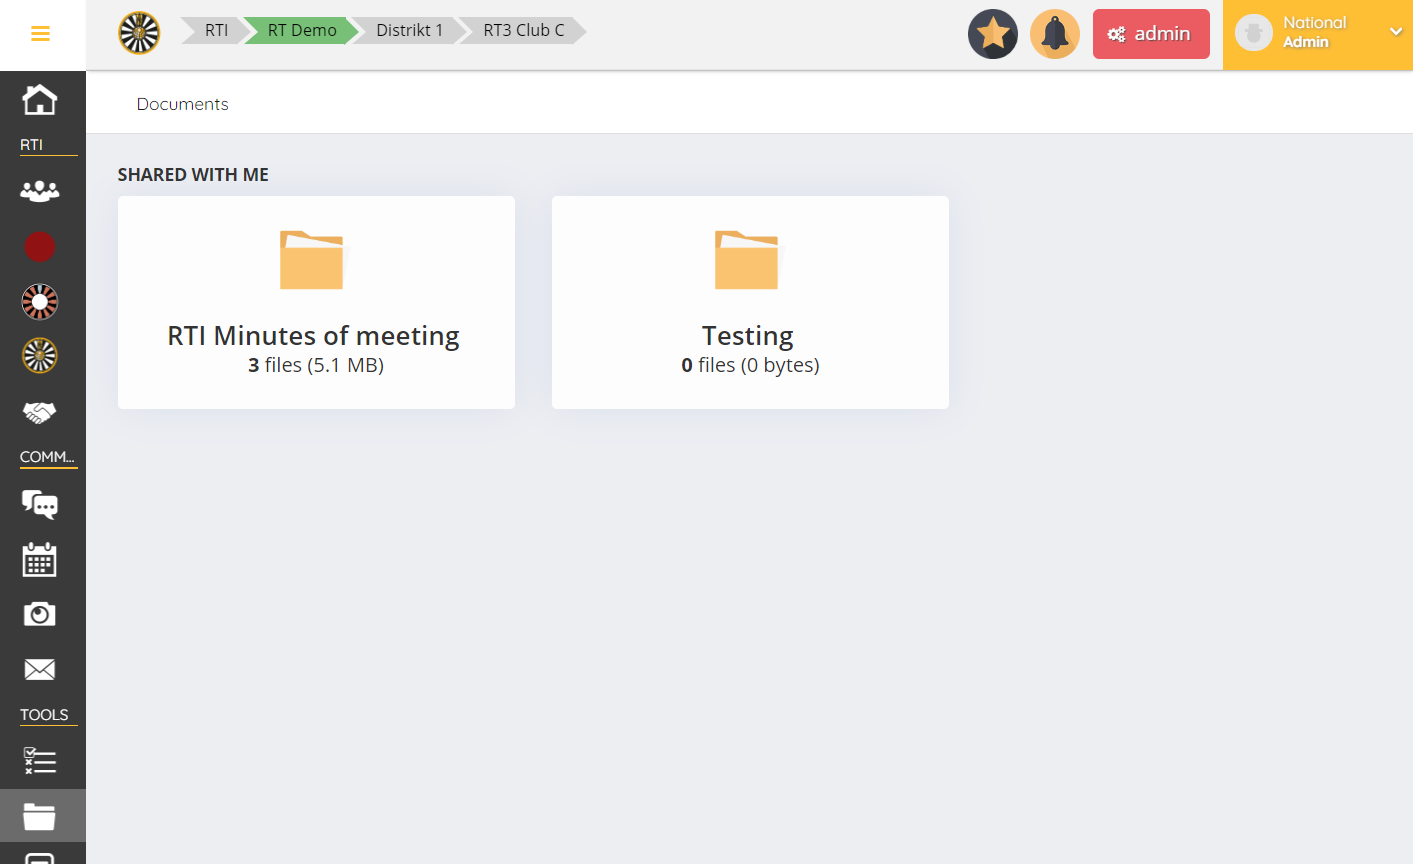
If you don’t have access to the admin menu (red button by the profile name) but have been given edit or management rights you can make your changes from the main site of the level (see image above and click on document icon on sidebar). Please note if you are a admin of the level but not have set specific manage/edit rights you will not see these options.
Here you have the same options as you can see from the individual folder & upload file section above. However please remember, if you have only edit rights your rights is limited to the content you have uploaded.
Allowing regular users to upload there own files
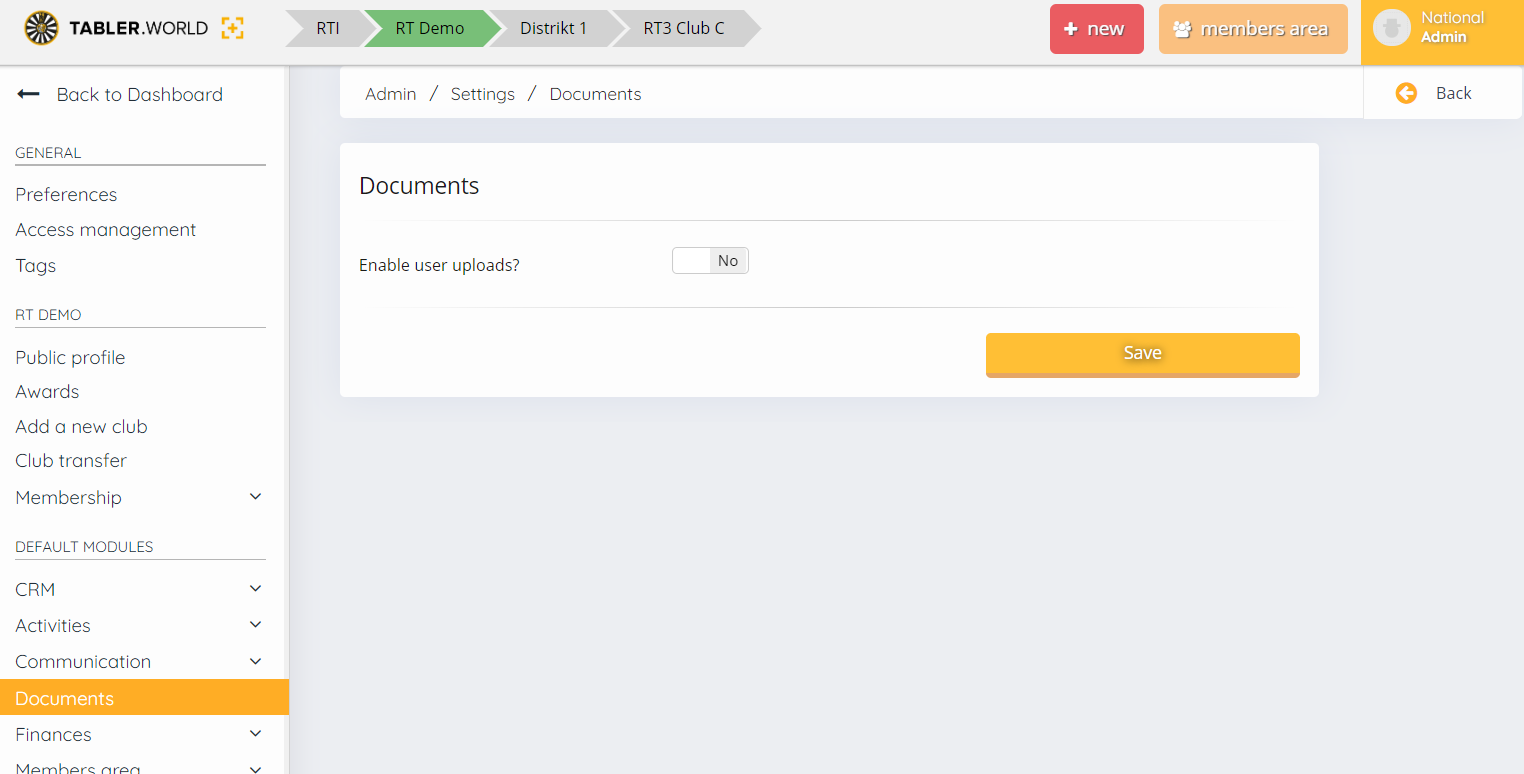
If you have full admin rights to the level you can allow any regular user of the level to upload documents to the platform. To enable/disable this option navigate from the admin menu to Settings > Documents, toggle the button to either allow of disable and save.
If you enable this you get an extra option to send to specific full admins an email when a new document is uploaded. It’s up to you to decide.
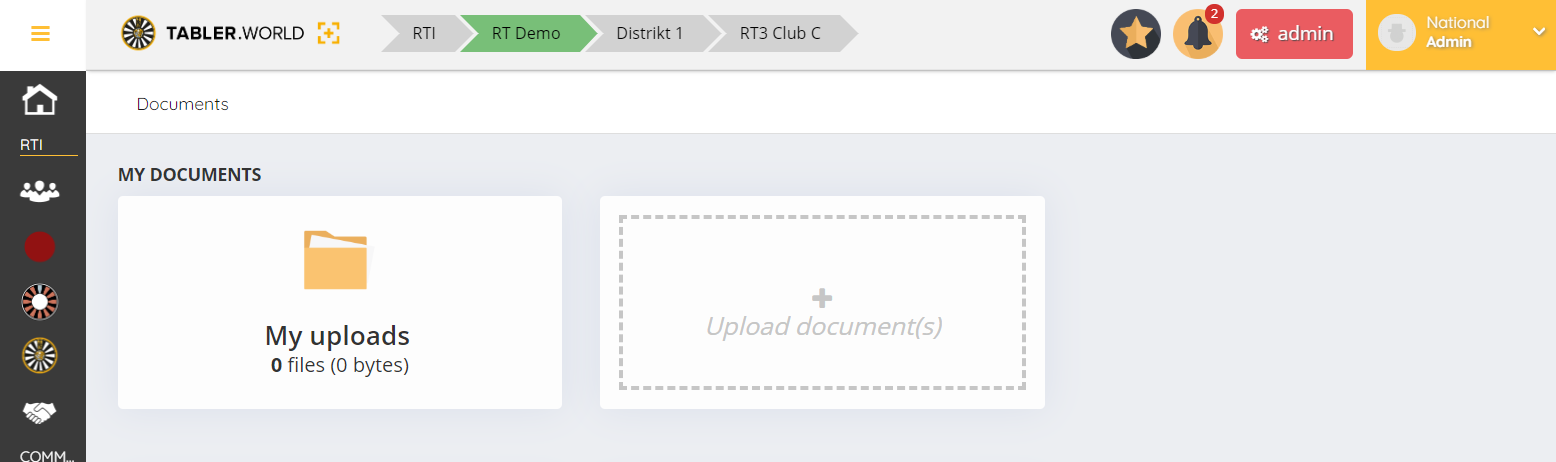
Once this is enabled you can click on the document menu item from the level it’s enabled and choose to upload a document and send to the admin or upload to a private My uploads folder that you can only see. Please note though that admins can of course see the files in My uploads if they need to.
This post is also available in:  Deutsch (German)
 Nederlands (Dutch)
 Français (French)
 Svenska (Swedish)
